First, I’d like to thank Ryder Carroll for creating and sharing this phenomenal system. It has changed the way that I process information and has increased my productivity. August 2015 marked my 1 year anniversary of using the bullet journal.
My Bullet Journal story
I actually first tried out the bullet journal when Ryder shared it in August 2013; I heard about it from a Lifehacker article. But, after about a month, I couldn’t wrap my head around some of the concepts, so I went back to trying out different systems and apps. I searched and searched, until one day I was browsing Pinterest for ideas and I came across a link about the bullet journal that led to a post on the Google+community. It was there that I was introduced to the many wonderful tweaks others were coming up with. I realized the true potential of the system and how I could modify it to work for me. That was a huge turning point for me.
I spent a couple of weeks peering in awe, reading as many posts as I could find about the bullet journal all over the internet. I noticed a lot of people remarking about the Leuchtturm 1917 as their notebook of choice because it already has an index and numbered pages. The version most often recommended was the dotted grid. ‘Dotted grid?’ I thought. I’d never heard of such a thing and was immensely curious to try it out as alternative to graph grid, which I am not a fan of. I hightailed it to the nearby art supply shop that sold them, picked up one of the sample notebooks, opened it, and gingerly ran my fingers across the pages. It was love at first sight. I rewatched the video, reread the website, and dove into it that night. I’ve been using the bullet journal ever since. Before the bullet journal, I spent more time shuffling tasks between apps and systems than getting them done. I’m happy to report that that list of tasks has shrunk down considerably thanks to the bullet journal.
Presently
Over the past year I have tried out dozens of techniques and ideas as well as gone back and forth many times with the original bullet journal system in pursuit of the best way to manage it for me. It is a constant flux of adding and subtracting elements in order to reach the level of organization I need. I’ve set it up in such a way to have the level of detail I crave while making it simple enough that I’ll continue to use it. It’s a constant work in progress and that’s part of the fun.
Along this journey I have kept principles of the framework such as the index, numbered pages, bullets, signifiers, and modified nearly everything else about it to make it my own. Over time I have more or less figured out what I like and what works for me. The gist is, I create simple, yet detailed, layouts to complement the bullet journal.
At first glance
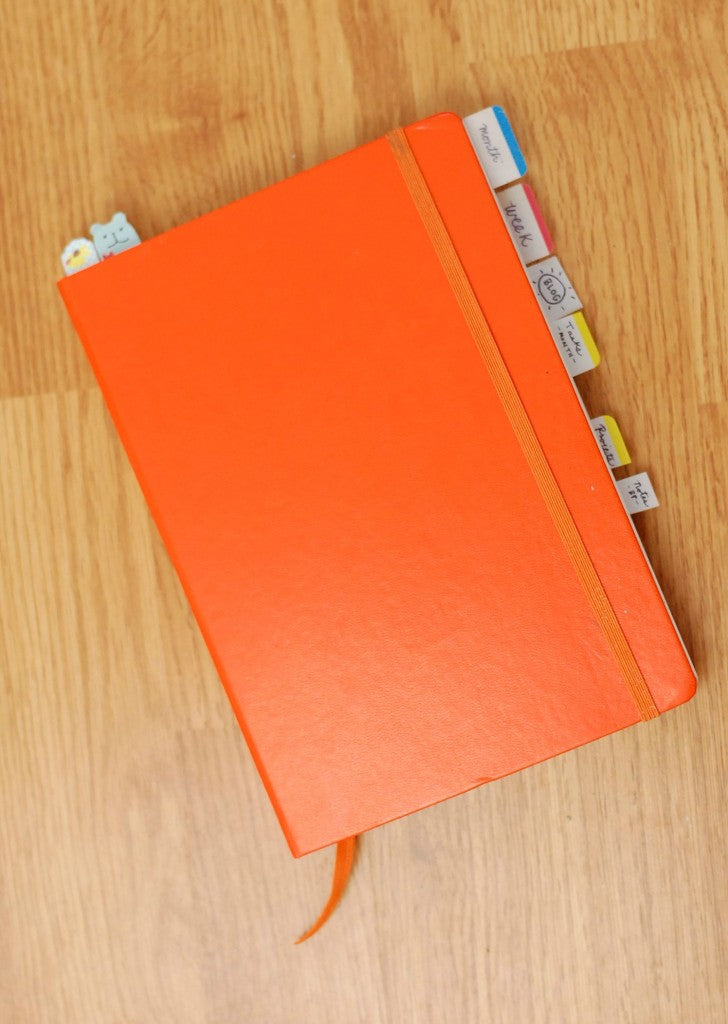
At first blush, you’ll notice tabs . I place these on pages I frequent.
Inside the front cover
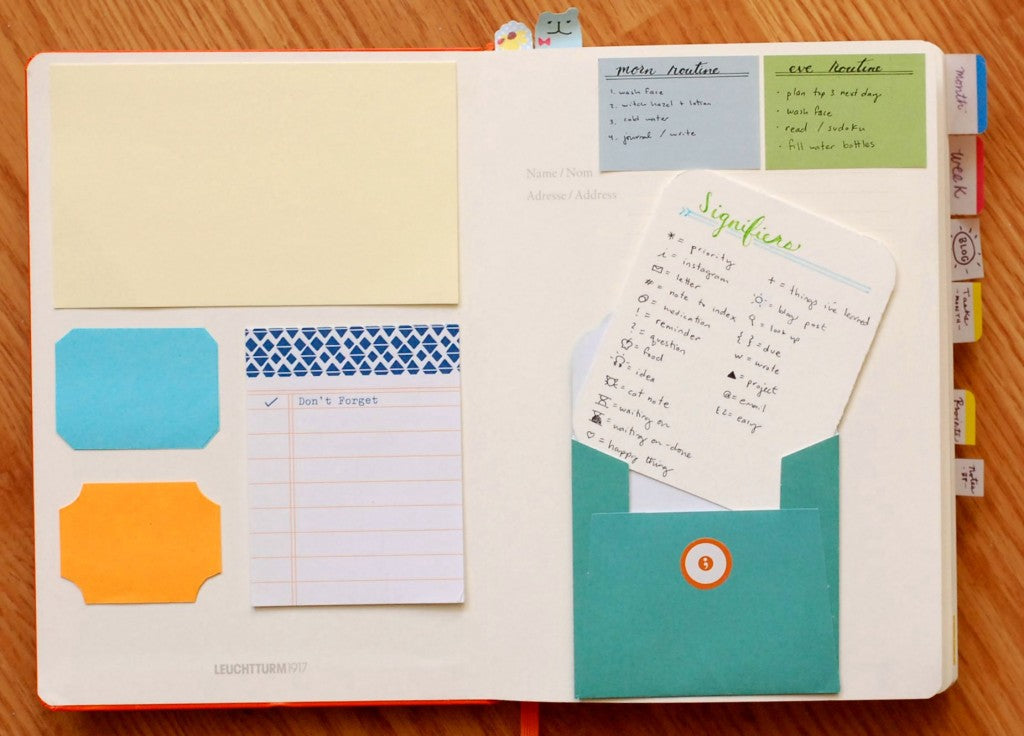
This is a handy place to store sticky notes and information I reference. Some of my signifiers are ideas from others.
Blank pages
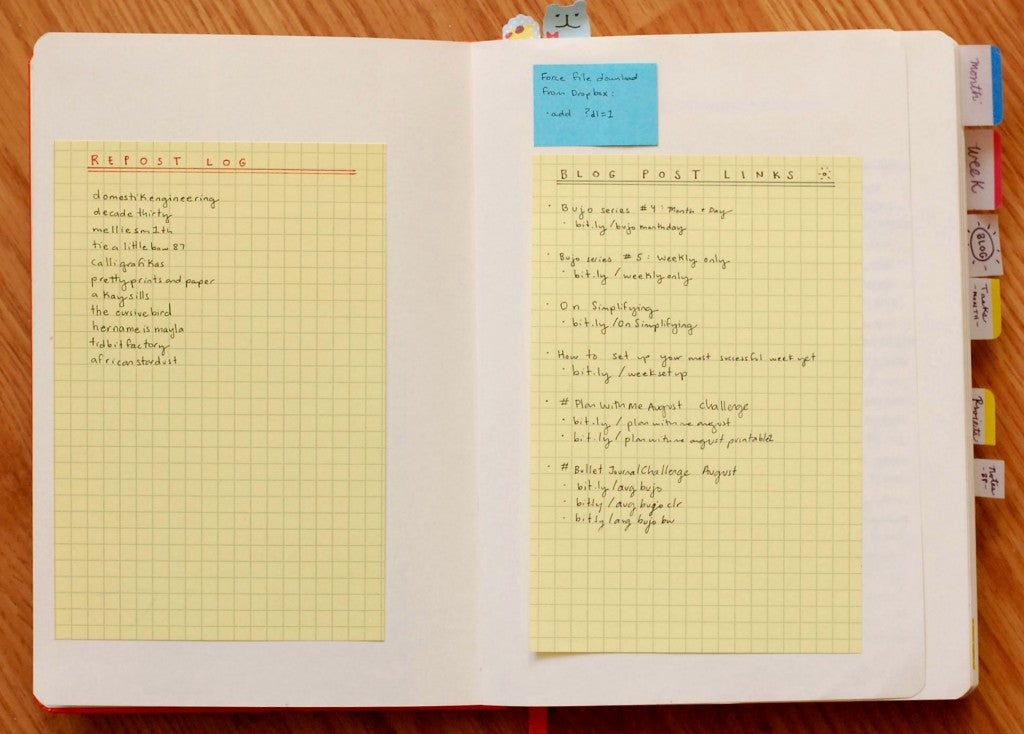
I take advantage of the extra blank pages at the front of the notebook by placing big grid sticky notes I reference often. They’re handy because I can move these ongoing lists from notebook to notebook.
Index
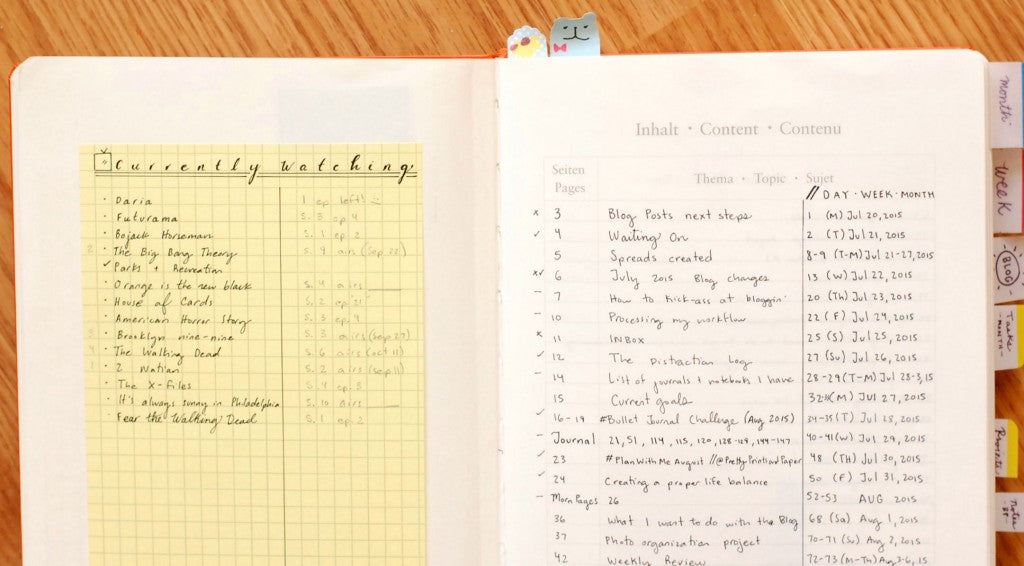
On the blank page there’s a sticky note with TV shows I’m currently watching with the name of the show on the left and notes on the right that includes what episode I’m on or when it airs again. I place a number next to the ones that are airing next in the order they are airing. I use pencil to update the notes.
I split the index in half by collections and dated entries such as daily, weekly, or monthly pages. I didn’t used to index dated entries but I have since found out that it’s necessary when I’m looking for a specific day.
The marks to the left of the indexed entries indicate: x = not using, ✓ = useful, – = notes and thoughts. These are signifiers exclusive to the index that help me when reviewing the notebook.
Month overview
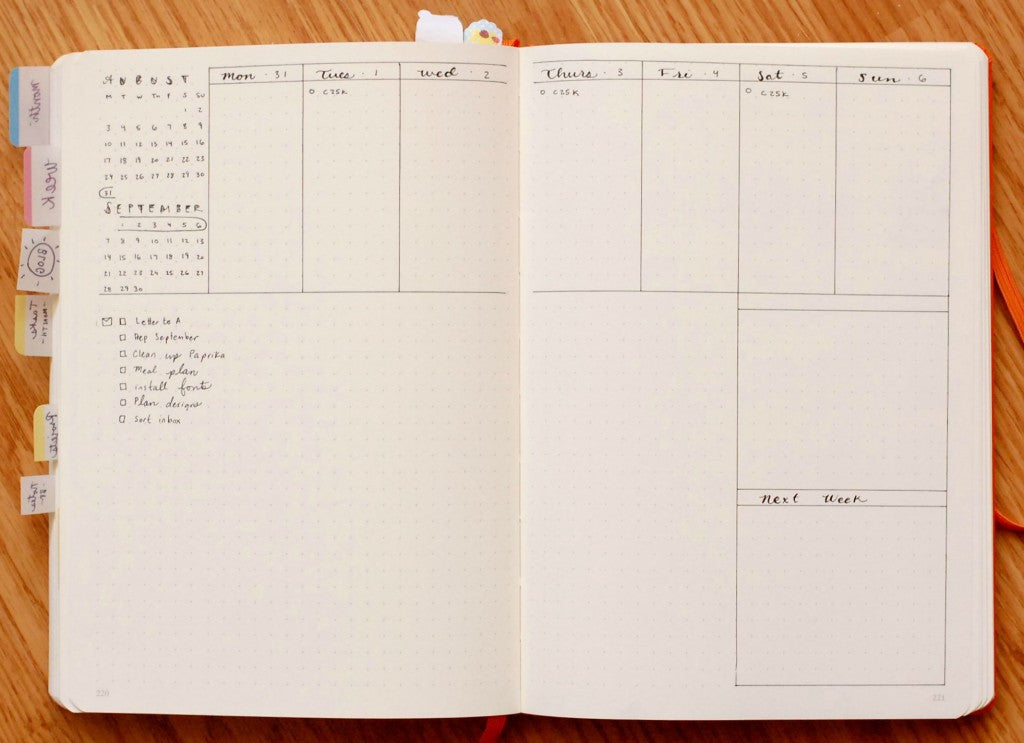
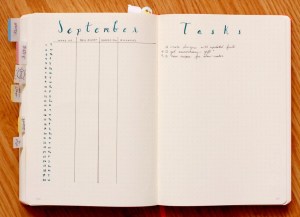
I tried out a grid month view for August and fell in love with having a month on one page with plenty of room for notes underneath. This is the only place I color-code with colorful Slicci pens. I’ve used the same color-coding scheme for calendars for over two years now, so it helps me to visualize my calendar in the same way as I have it in Google Cal. I enjoy the original month log as a way to write down snippets of what happened over the month so I can get a snapshot of what happened in more detail than the month grid allows me. On a separate spread, I keep a sleep and allergy log as well as tasks for the month.
Weekly overview
I set up a weekly overview according to what I want to accomplish that week. I also place tasks that I probably won’t be able to get to until some other time during the week. I experiment with this layout the most and I find that in general I like having day boxes with plenty of room across the top and a generous amount of room underneath for tasks.
Daily log
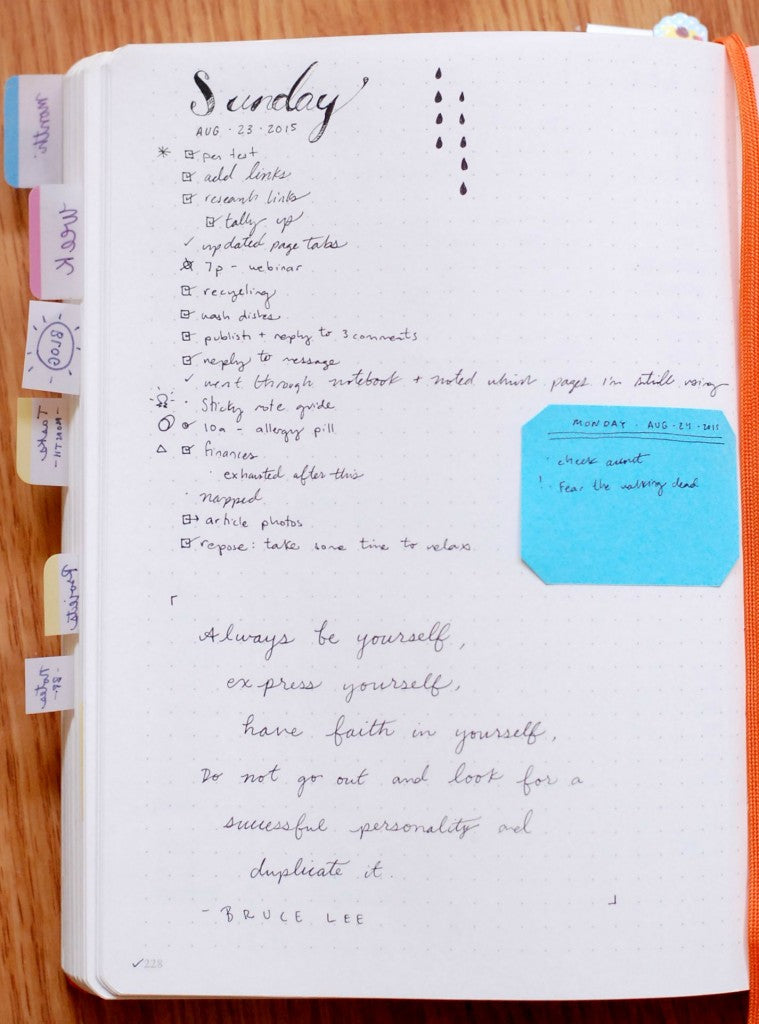
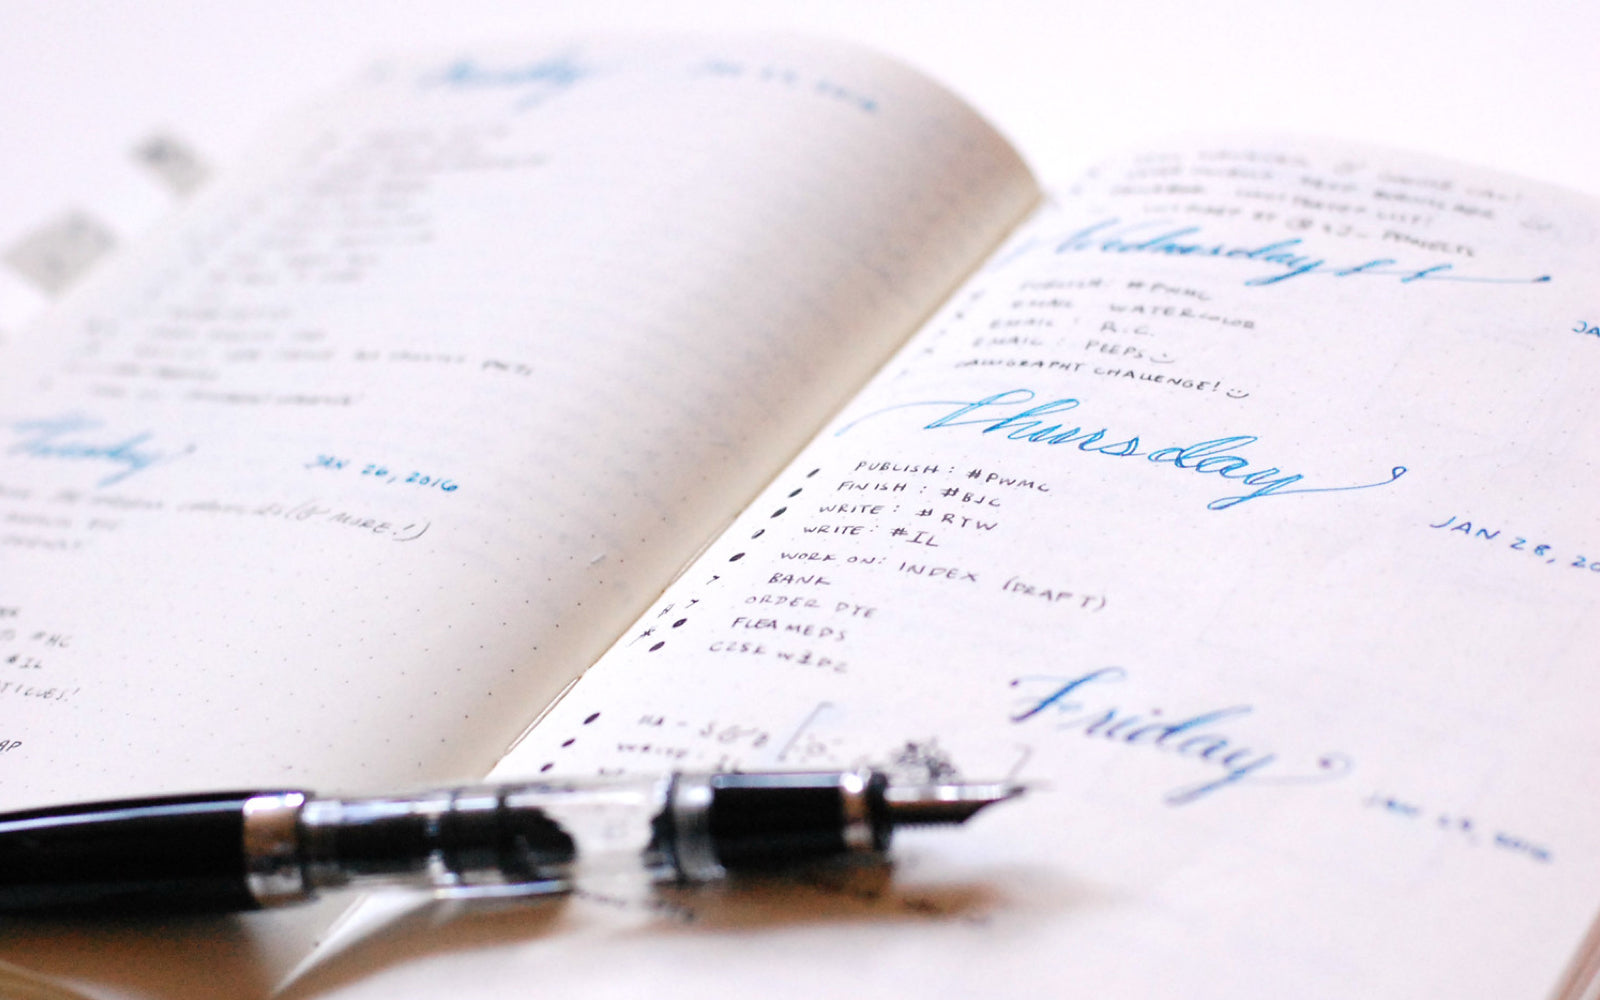
This is the heart of the bullet journal in my opinion. This is where I spend the majority of my day and where the system really shines for me. I use the original bullets. I use a checkbox for tasks, open circle for events and appointments, and dot for notes. If it’s an event, I don’t place the time next to it; if it’s an appointment, I place the time next to it. This is my favorite part about the bullet journal because I can use as much or as little room as I need to each day without wasting any space or feeling cramped.
Over time, I learned that placing too many tasks on my daily page leaves me feeling overwhelmed, guilty, and unproductive. I now place only the tasks I think I can realistically get done when I plan my day. As the day goes on and I think of more tasks, I take a moment to think about whether I can realistically get that task done today. If I can, I’ll place it on my daily page; if not, I’ll place it on my weekly or monthly spread. I place it on my weekly if I want to get to it sometime during the week; otherwise, I place it on the monthly to do at a later point. Now I have less tasks to migrate on a day-to-day basis and I feel happy with the things that I accomplish.
I place a checkmark next to the page number to indicate that I have migrated all of the tasks from that page. This gives me some wiggle room in case I skip a day or two of migrating tasks and it saves me from having to flip back through all of the pages to check for open tasks.
Future planning
Something I struggled with for a long time was figuring out where to place something for tomorrow or some other time without adding it to the current page. So now I turn to one of three methods:
- I grab a sticky note, write the date for tasks at the top, and write down the tasks. When that day rolls around, I place it on the page.
- If it’s something happening this week or next, I flip to my weekly pages. If it’s for this week, I write it on one of the date blocks. If it’s for next week, I write it down in the next week block.
- If it’s happening beyond the next couple of weeks, I flip to the monthly overview and write it down in the notes section.
Collections
Collections are one of my favorite components of the system. I experiment and add collections as I think of them. If the page turns out to be a dud, I place an X next to the page number to indicate it didn’t work out. I have collections that range from notes and blog post article ideas to detailed project action lists. Here are a few of my favorites:
Dinners
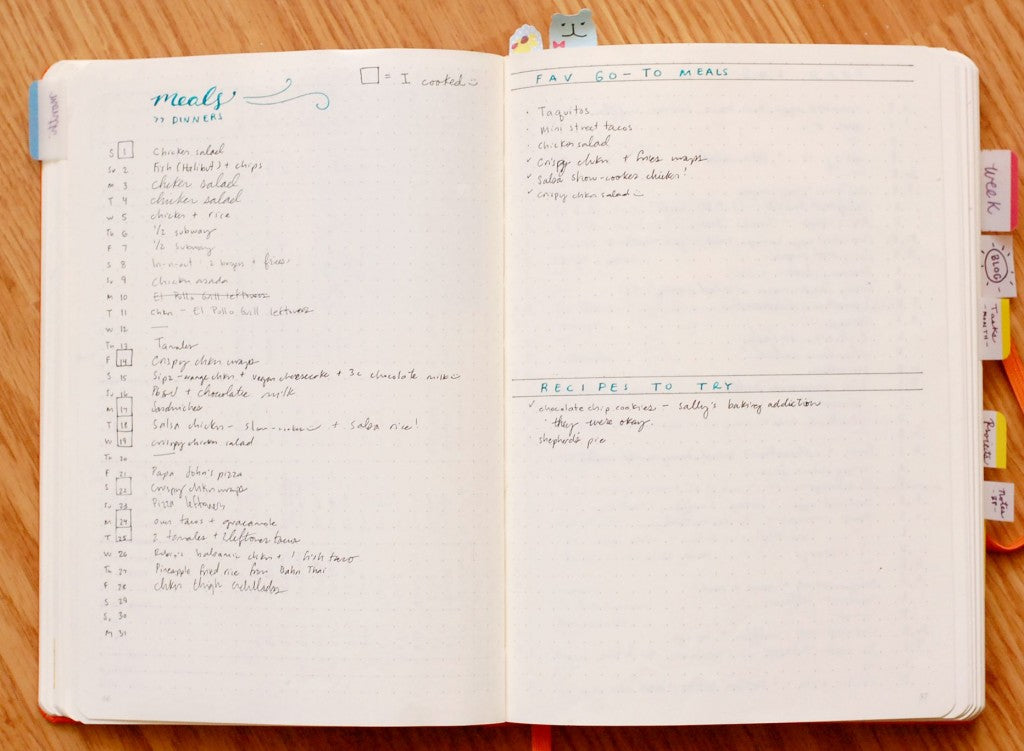
The dinner log helps me keep track of dinners and encourages me to cook dinner more often with meal ideas on the side. This also makes meal planning easier by providing a place to see a few favorite meals and new recipes I’d like to try out.
Food log
I use it to record food after the fact. It is based on the meal plan log devised by Ryder. The second spread includes a section to note any foods I suspect I may have a sensitivity to.
Gratitude log
Since I tend to be prone to bouts of depression and anxiety, this helps to keep me optimistic. Each night before bed, I reflect on good things about the day and write down 5 things I’m grateful for.
Waiting on
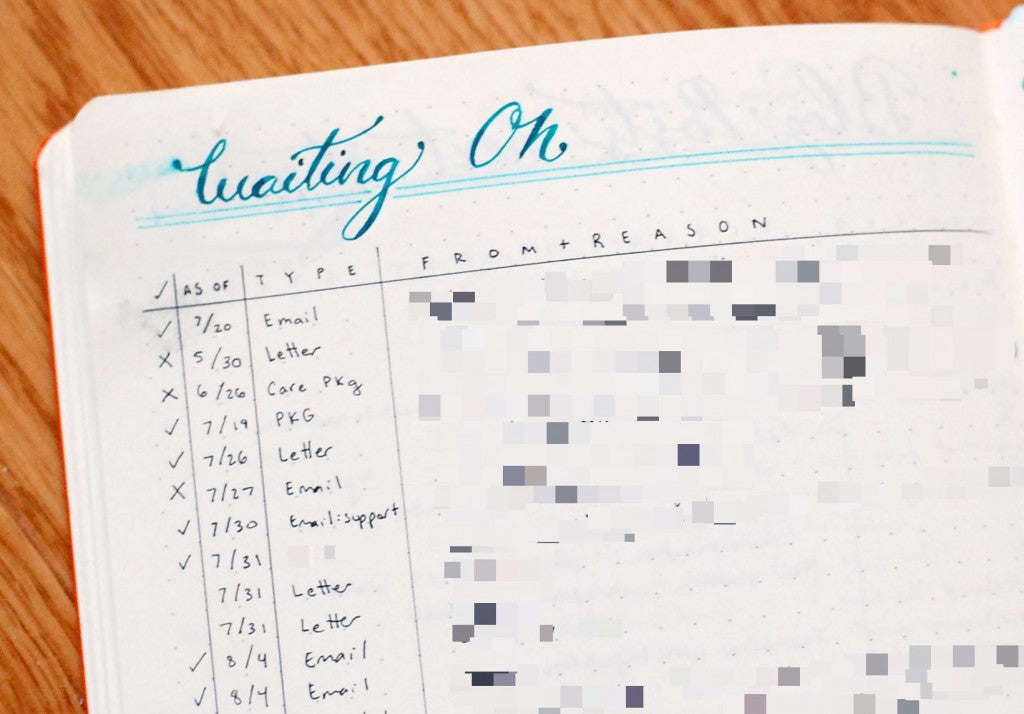
This page is beyond helpful. If I’m waiting for a response of any kind, I place it here. This page is not tabbed because it’s at the beginning of my bullet journal and it’s easy to flip to.
How to Bullet Journal like Kim
- Either the night before or morning of, I ask myself, ‘What will make me feel the most accomplished?’ and jot down only a few that I think I can realistically get done. I also migrate tasks from the day before that I didn’t get done and want to do today.
- At the beginning of the day, I check my morning routine and log my sleep.
- I check the month overview to see what’s going on and grab tasks I can realistically get done today.
- I check the week overview to see what’s going on and grab tasks I can realistically get done today.
- I check off tasks, events, and ideas throughout the day.
- I jot down tasks, notes, and ideas as they arise throughout the day. If I can do the tasks today, I place them on today’s page, if I can’t I place them on the weekly or monthly overview.
- As I think of new needs, I’ll sketch out a layout idea on a sticky note and flip to the next page to try it out. I tab it if I flip to it constantly. If the idea is a dud, I place an X next to the page number to indicate that it did not work out.
- As the day goes on and I think of ideas I’d like to try out the following month, I place it on a sticky note on the current month’s overview.
- If I feel anxious, I flip to the next available page and write out some thoughts.
- At night, I update my food and gratitude logs. I also do my evening routine.
- Each week, I reflect on the week before, create a new layout, migrate tasks, and cross out any irrelevant ones.
- Each month, I review what went well, migrate tasks, and cross out irrelevant ones.
- Repeat.






Leave a comment (all fields required)